Rubik’s cube of ironing beads
Pärla en egen Rubiks kub. 3d pärlplattor steg för steg. Nr. 168
- Time required: 2 timmar
- Steps: 6
- Difficulty: Hard

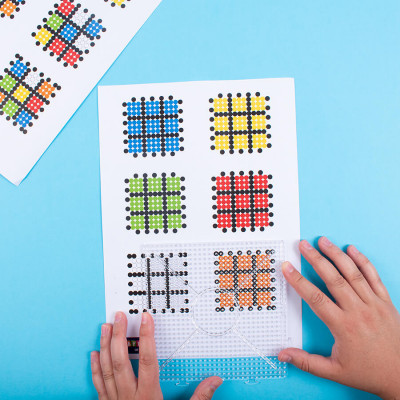
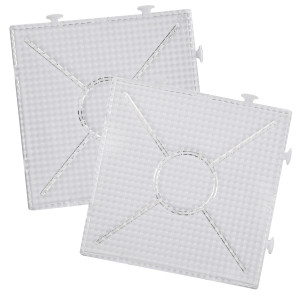
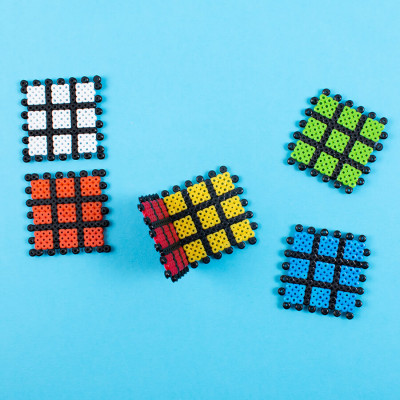
Print a template sheet for all the parts. You can download the PDF above. Place a see-through pegboard on top.
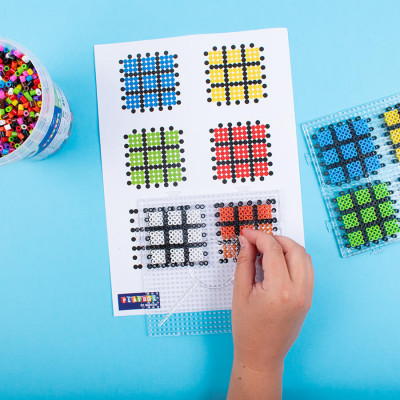
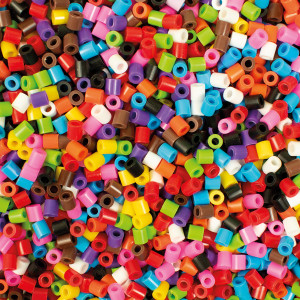
Place the beads. Cover the beads with baking paper and iron until all the beads have fused. Place something heavy, e.g. a book, over and let them cool. NOTE! Get help from an adult when ironing. Both the iron and the beads get very hot.
Attach the sides together. The two sides on the bottom of the template are the ones for the bottom and top (white and orange). Attach these ones last.
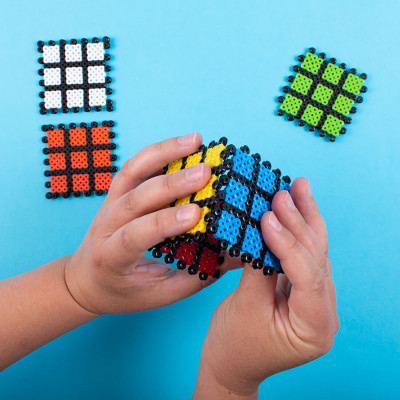
If its hard to attach the sides you can cut the beads with a scalpel so that they fit together. NOTE! Get help from an adult if you need to cut the beads.
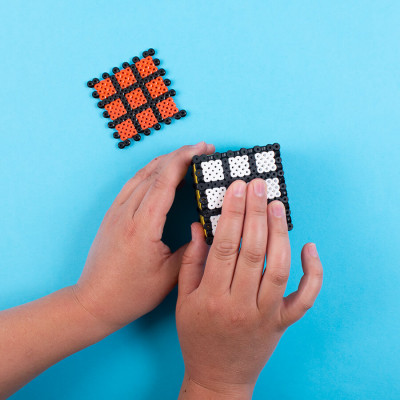
Attach the bottom and the top.
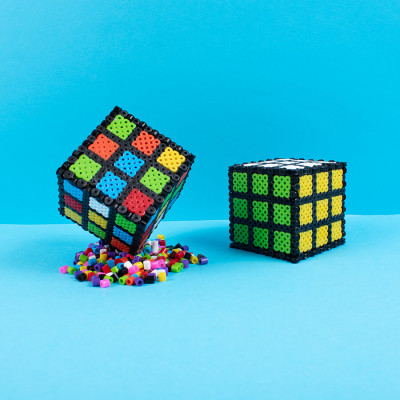
Done!